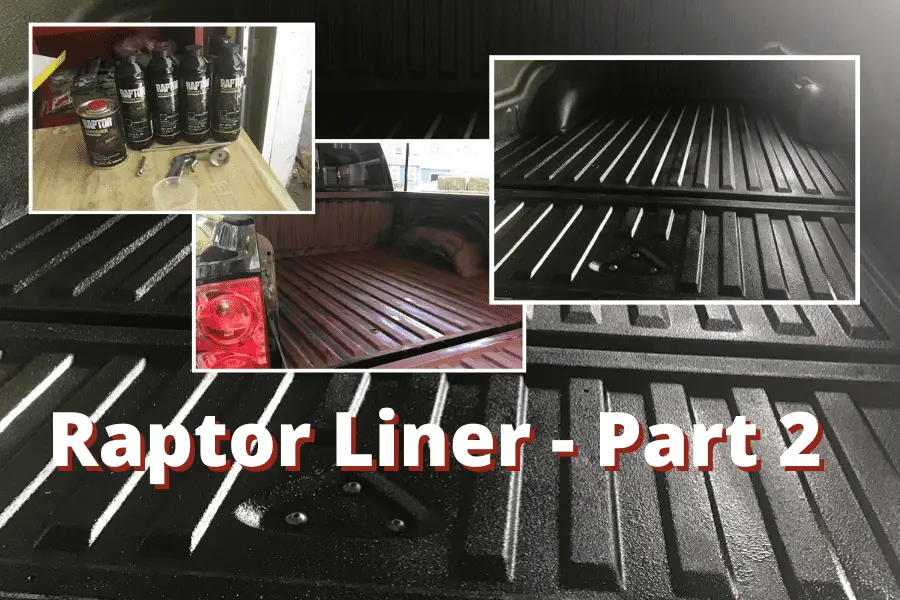
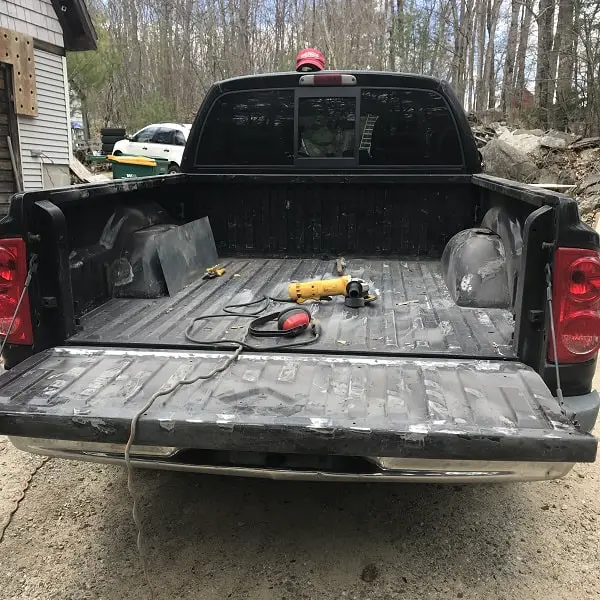
A lot of hard work went into prepping the truck bed. In my last Raptor Liner post, we sanded the bed, removed the rust, and got the bed to a point where we could tack weld the wheel wells. Today we finished the project. So, how did we get there?
The Bed Prep Continues
After removing all the rust and grinding back the metal to a usable surface, we welded a sheet metal plate to the top of the passenger side wheel well and a fiberglass patch to the other. The existing holes required different approaches based on the size of the damage to the wheel wells.
Sealing the Truck Bed
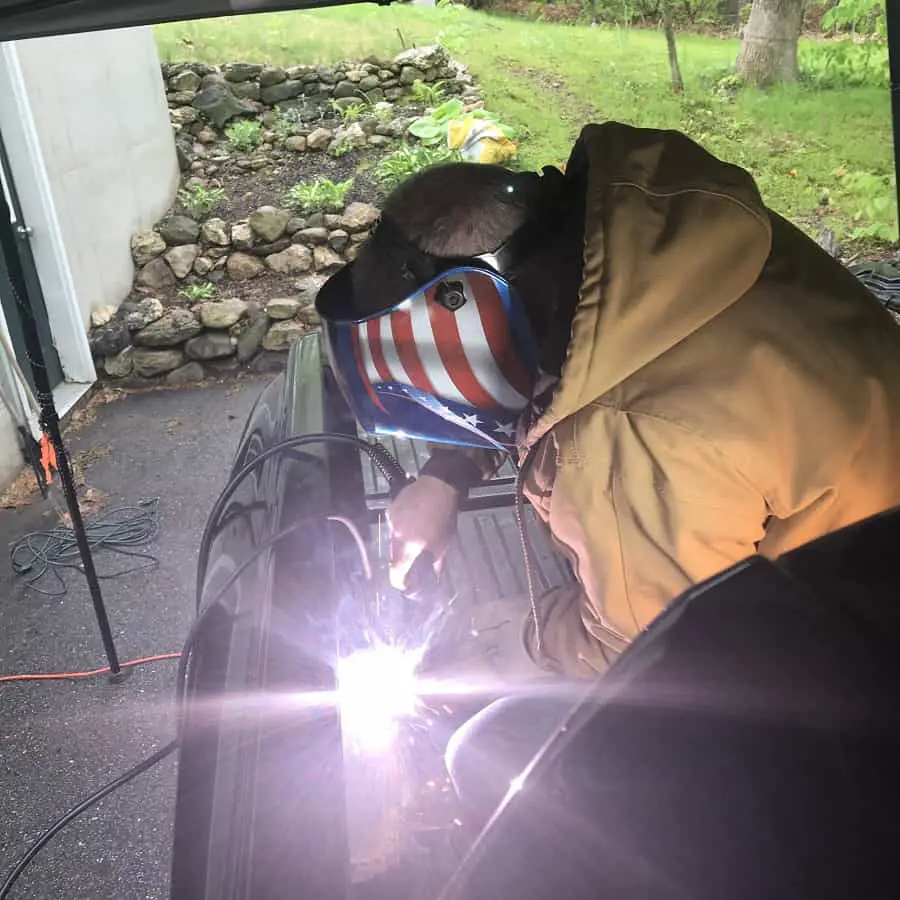
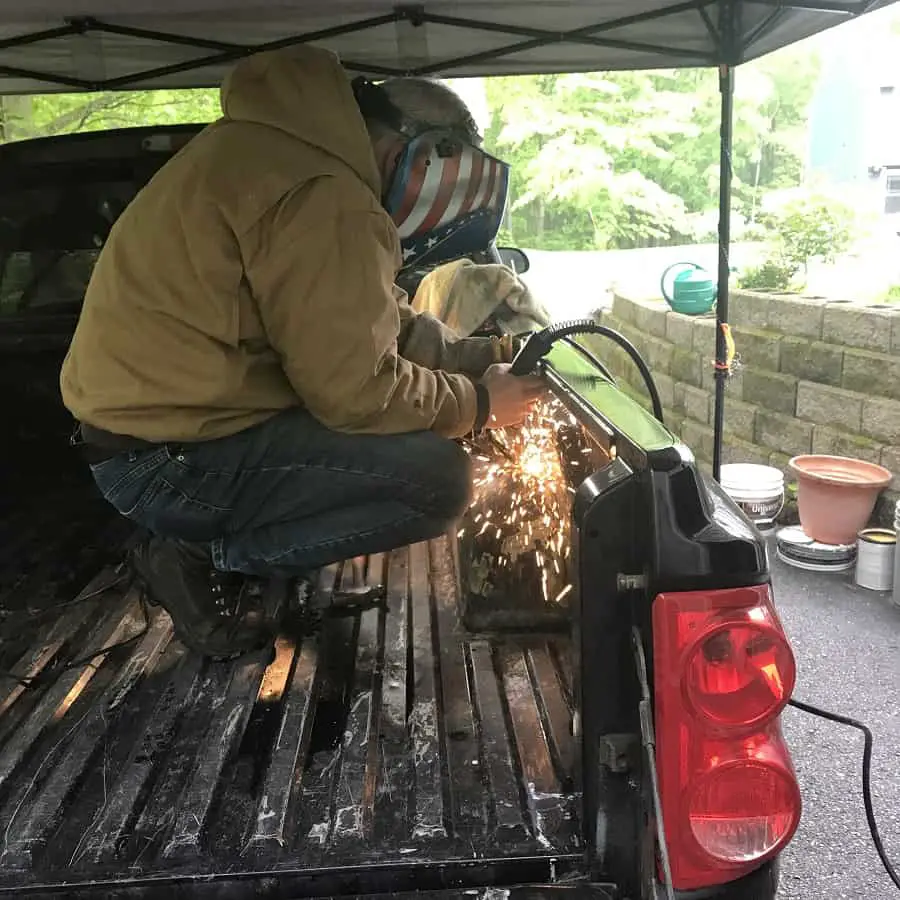
Welding the Big Hole Over the Wheel Well
On the right side of the truck bed (passenger side) was a fairly large hole that needed special attention. I had my friend Vince weld a piece of sheet metal onto the wheel well and then grind it smoothly. He did a great job and left that side with a nice finish for the Raptor Liner.
Fiberglass and Resin Over the Wheel Well
The other side was smaller so we opted to cover that with fiberglass. The fiberglass cover with some light sanding was just the trick on the driver’s side wheel well. I did drip some of the resin on the truck bed that I didn’t notice until after I had sprayed the Raptor Liner. But it really isn’t a big deal as the entire bed will be eventually covered with a camping set up.
Flexseal to Keep Bugs Out
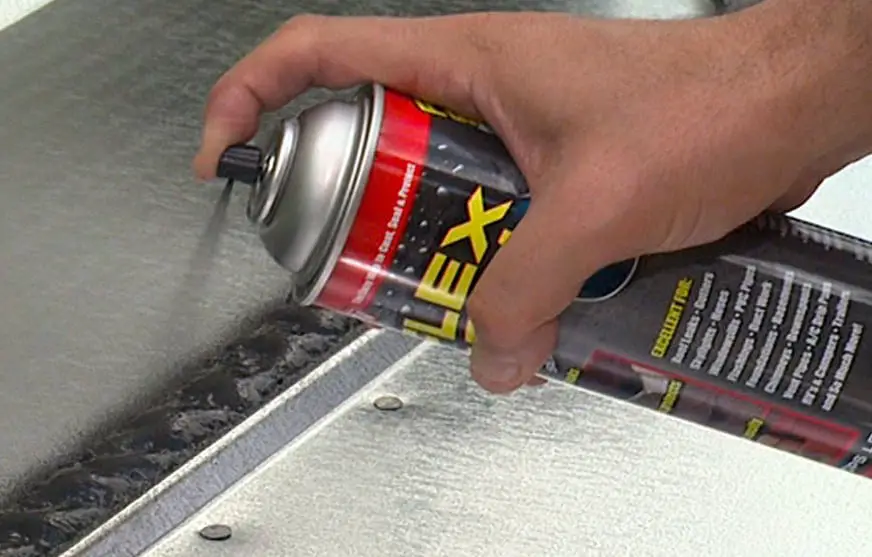
One other thing we needed to do was to fill a gap at the front of the truck bed (at the back of the cap). As with most trucks, the truck bed gets lots of wear and tear. My truck was the same. There was a 3/4 inch gap where the bed separated from the wall at the front of the truck bed.
This most likely happened when loading some boards and slamming into the front of the truck bed. We decided to fill this with wire mesh covered by Flexseal.
This was mostly cosmetic and to keep the bugs from coming in. Again, this worked like a charm and other than me getting flex seal on my hands, all was good.
Sanding and Priming The Truck Bed
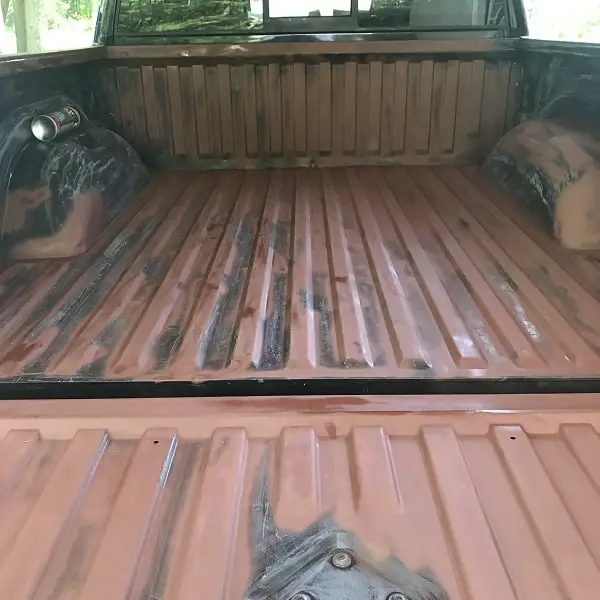
In order to sand, I used my old square power sander with 60 grit sandpaper. I figured that was good for a rough surface while helping to remove some of the latent rust on the bed. I followed this up with Rustoleum Rust Reformer. This stuff sticks like glue and did a great job priming the bare spots.
Coating with Raptor Liner
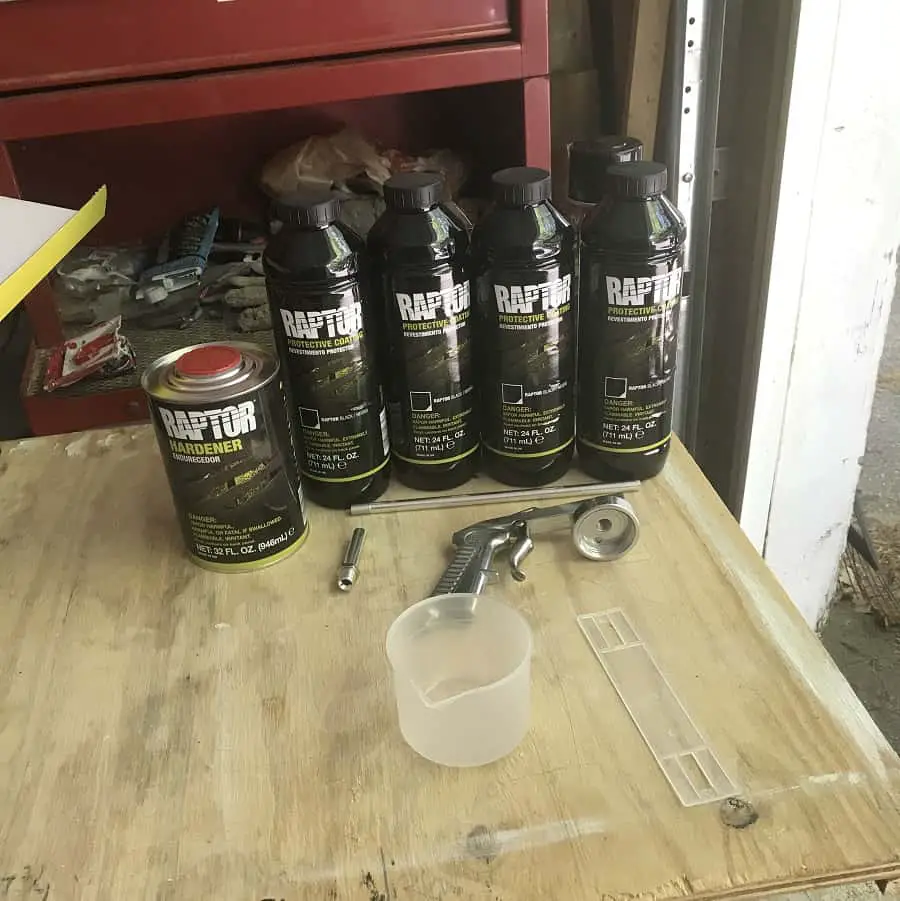
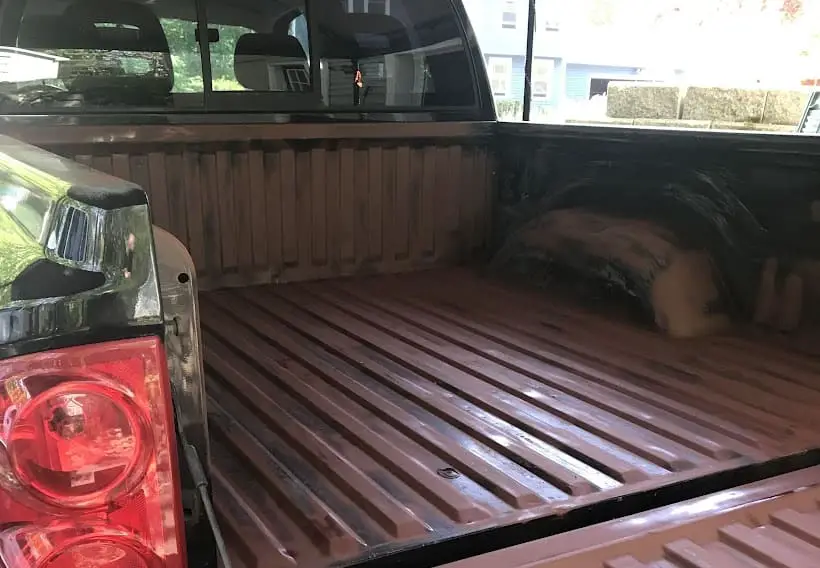
After taping off the truck, now came the moment of truth. I always hesitate when I get to a part of the mod where I am new to the process. Yeah, I was a bit timid with the Raptor Liner. So, I combined the hardener with the liner bottle, shook for what seemed an eternity (again, nervous about application), and attached the spray nozzle.
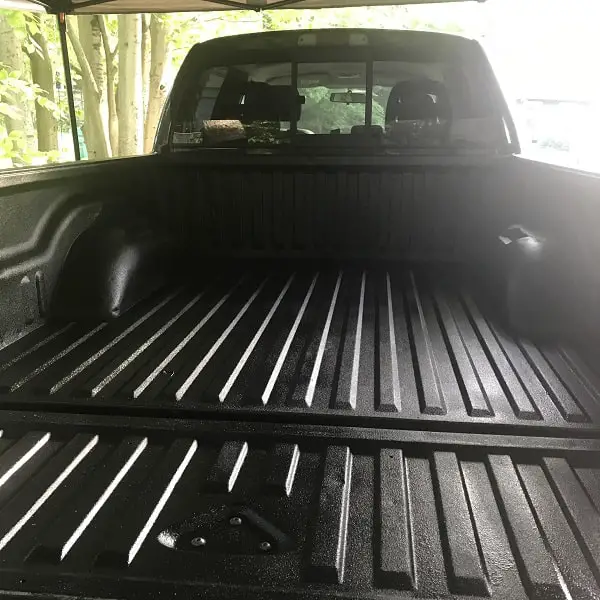
I started at the front of the bed and noticed that the coat was thin and sporadic at first. This was a relief as I had thought that I needed to move at lightning speed to get the first coat on. After my jitters subsided I continued with the first coat. The first coat took about 2 x 24-ounce bottles to completely cover the bed. And it looked really good for a first coat.
The second coat went a lot faster than the first coat and I was able to cover some areas where I went too light on the first coat. It is always best to do light coats and apply as evenly as possible. The second coat required only one can of 24-ounce Raptor Liner.
This completed the job. So, we removed the tape and plastic cover. I am very pleased with how it came out and spent a good deal of time admiring my work for the next week or so!
Check out the next couple videos…one of me spraying the bed and the other of the finished product.
Final Project Thoughts
I am happy with the outcome. At the end of every one-and-done project, I feel like I have “mastered” the process, well, at least to a “good-enough” state, and want to do it again. But, I need to move on. My final project thoughts are as follows.
- The prep work is always the most time-consuming. Make sure that you have time, energy, and the right tools to get the prep work done correctly.
- Taping off the truck is super important. I had a small crack in the plastic over the outside of the truck bed. This left a two-inch x 1/4-inch Raptor liner overspray. Not a big deal for a 16-year-old truck but wouldn’t want to do that on a new truck.
- Take your time but move quickly. If you are skilled at using spray paint, you will know that once it is covered you can move on. Don’t try to get everything perfect the first time. You will have time for a second coat.
- Don’t trust plastic liners. The truck looked good with the plastic liner but when I removed it, it revealed lots of corrosion and rust. So, I am glad that I was able to fix it with the Raptor Liner. I believe that applying the spray-in liner saved the life of the truck bed.
- I love doing projects and this one is not something to fear. It requires some spraying skill but not anything that everybody can’t do. The only part I needed help with was welding. I am not skilled, nor do I have the tools. Good thing for having my friend Vince to help out with that.
So, overall extremely happy with the outcome. Next up is finding a cap to keep me warm, dry, and bug-free on my next trip.
