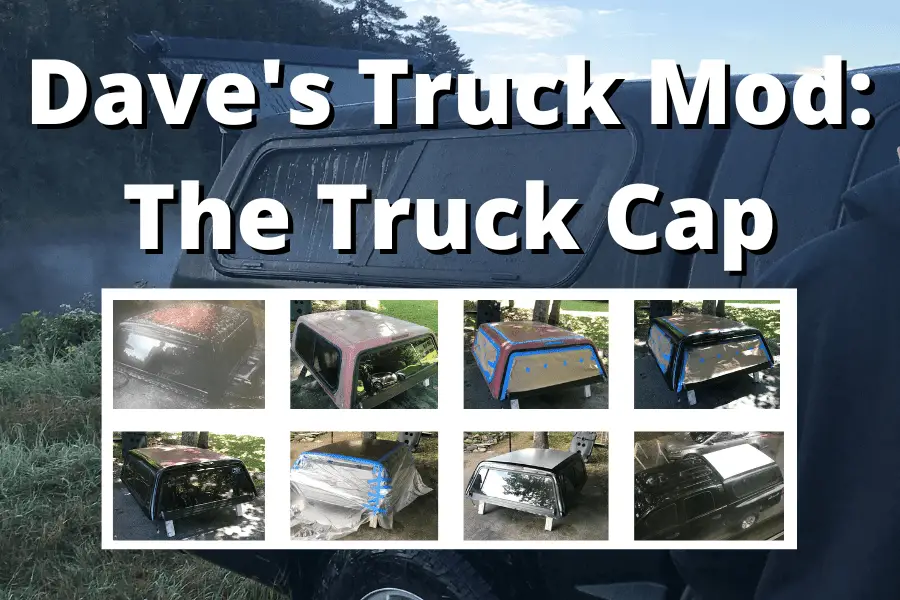
Sometimes the hardest thing to find is right under your nose. My search for a truck cap was just that. I searched high and low to find the perfect cap to fit my truck without breaking the back and found nothing. Until…
My Needle In a Haystack: 2005 Dodge Dakota 5 1/2 Foot Cap!
I was sitting at dinner with a friend and mentioned my troubles and he tapped 5 and a 1/2 foot truck cap into his phone and found the perfect cap on Facebook Marketplace. I was somewhat dumbfounded as I had looked there a number of times. I guess it was just a case of being in the right place at the right time.
So, we contacted the owner and took a day trip across the state (New Hampshire isn’t that wide, fortunately). We through the cap onto the roof and headed home.
All of the equipment and materials that I used for the truck cap can be found below with links to find them easily on Amazon.
Step 1: Cleaning Up The Cap
I got home and noticed the cap was poorly painted with spray paint. See the images as I cleaned up the cap. The previous owner had hastily spray-painted the cap black but missed most of the top and front of the cap. He even spray-painted onto the screens. Something I will have to address at another time.
So, I washed it off and cleaned up some mold from the inside of the truck cap to start.


Step 2: Remove the Paint and Prep the Cover
My next step was to remove the paint. Fortunately, it was a rainy day so I stood in my driveway with sandpaper and sanded away. The black spray paint came off fairly easily and with a little elbow grease, the original paint was history.
I sanded using 120-grit sandpaper but would suggest something more like 400 as the grit scuffed the cap more than I wanted. I changed to a 400 grit as the project moved along. Here is my cap after sanding. I decided to not take the windows out as that would have lengthened my project and because the cap only cost me $60 dollars I kept them on.
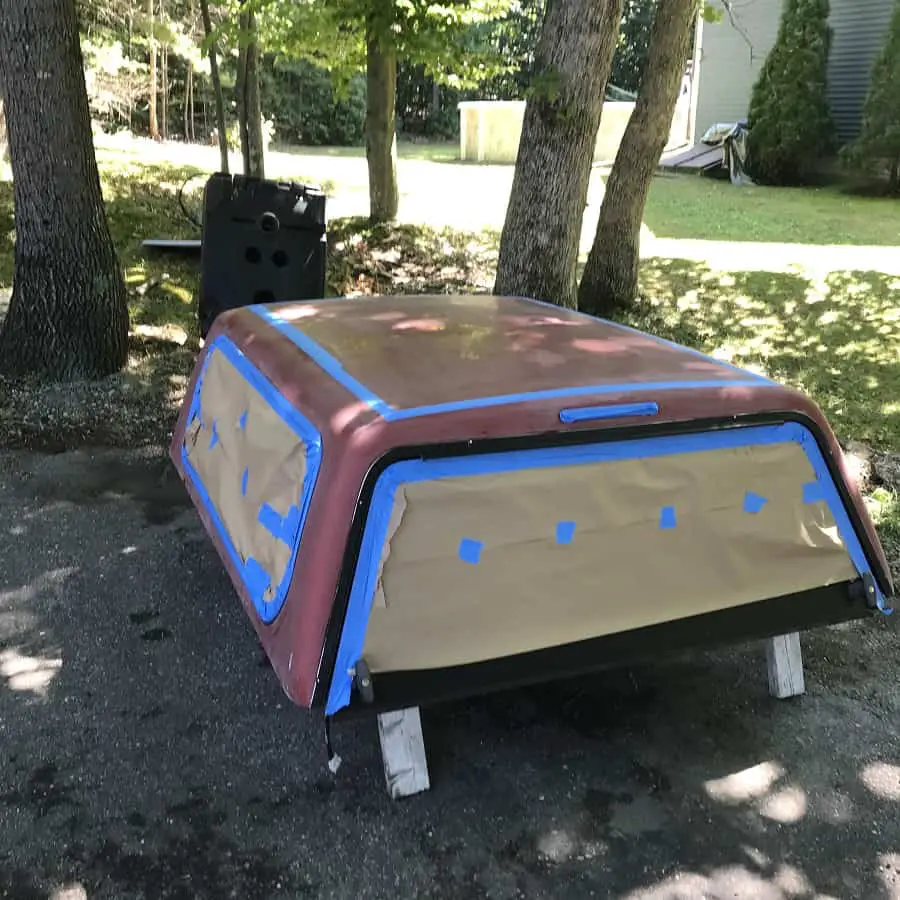
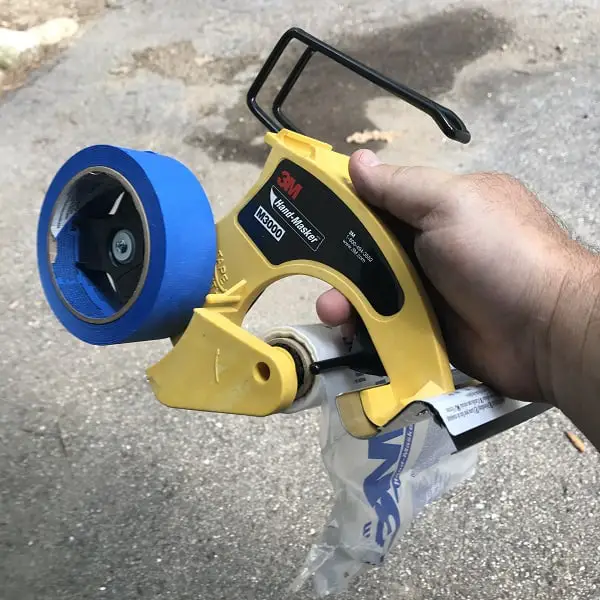
I then taped the top to allow for a two-color paint job. Black for the sides to match the truck and white on top to reflect the sun.

Step 3: Painting the Black Portions
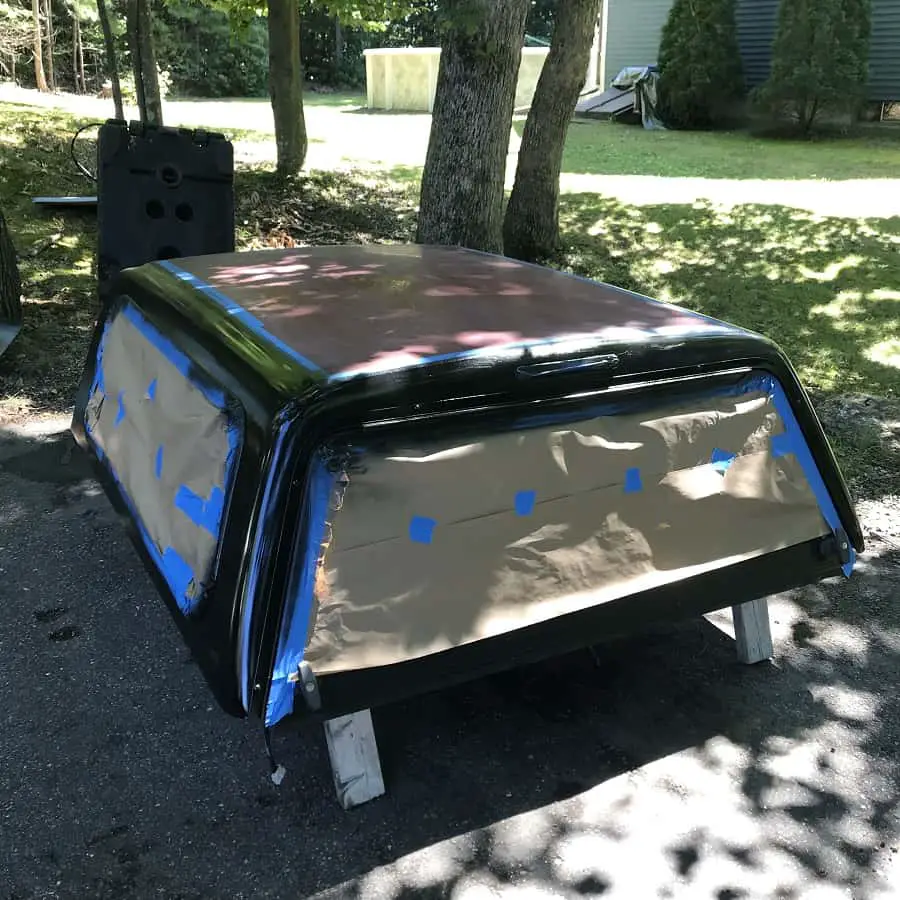
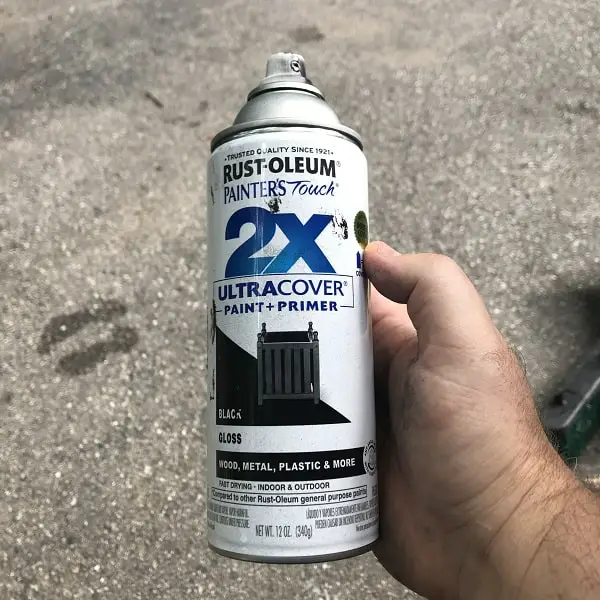
I used a few cans of Rustoleum black paint to paint the cap. I would suggest using a sprayer for a more uniform finish but unfortunately, I couldn’t find the Rustoleum in a liquid and not a spray. Because the area wasn’t large I was able to spray it carefully and not have any spray lines on my cover. I painted 3 coats with black paint.
Step 4: Paint the White Top
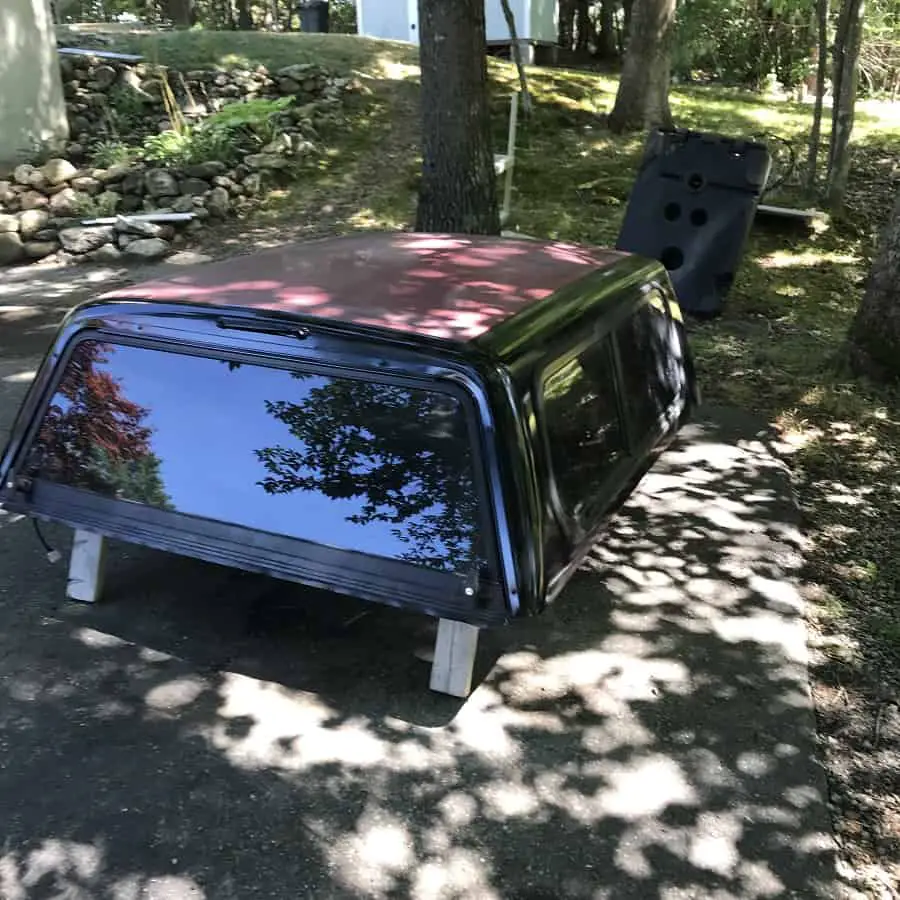
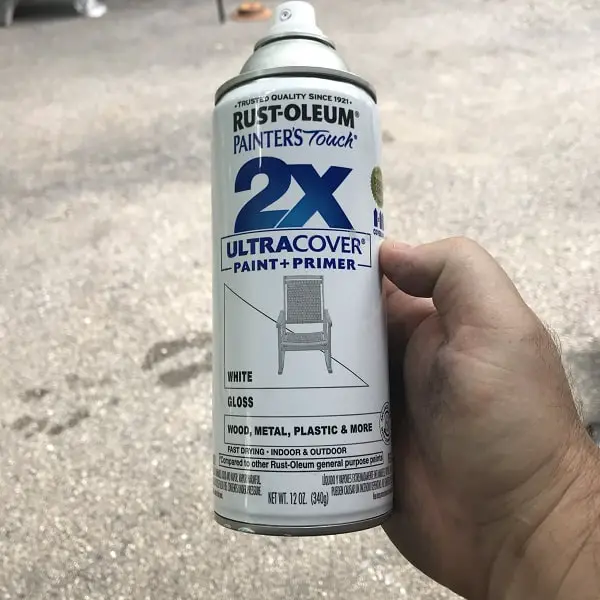
After letting the black paint dry I retaped the cap and prepared for the white top. This went fairly easily however, the most difficulty was with maintaining a streak or line-free finish. Again, as I used Rustoleum srapy cans it was hard to get the job done without leaving narrow spray lines. I did my best and took my time. Here is the finished look.


Final Look:
Here is the finished look taken from my window. I used Frost King Expandable Foam between the cap and the truck bed to create a tight seal.


Tools I Used for the Cap (click on the images for the link)


Final Thoughts:
I am pleased with the outcome and ready for adventure. A few things I would do differently. I would have used higher-grit sandpaper to remove the spray paint as the lower grit left scuff lines that I needed to fix. Secondly, I would have found liquid Rustoleum and used a paint sprayer. It would have cost more but provided an easier project. and finally, I would paint a few layers of clear coat however, I decided against it for time’s sake. I can always add some next spring.
