
Like in life, modifying and building a truck camper setup comes with trade-offs. My camper build is no different. After my first trip, I realized quickly how important headroom is when you are getting into and out of the truck. So, that became my first priority.
My second priority was to have storage under my bed and in as many places as possible so I could be comfortable when I was in my truck for the night. The third priority was to make it portable as I need to use my truck for, well, truck duties around my home.
I believe that I captured all three of those requirements with this build. As I am new to truck camping and eventually overlanding, I researched what has now become my ‘modular-style’ camping setup. I found a nice video from Levditti which I shared in my previous post which you can view in my recent post, Back to the Drawing Board post.
Following the aforementioned design by Levi at Levditti, my build included two major parts, the camper bed, and the camper storage.
The Truck Camper Bed Setup
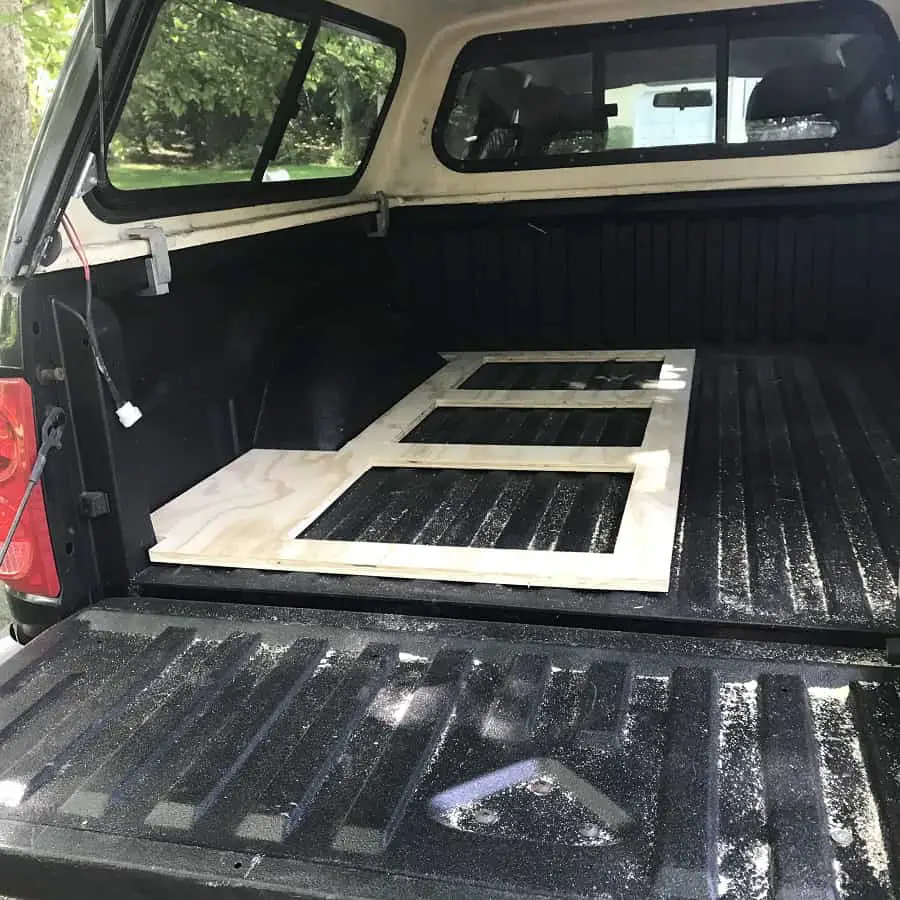
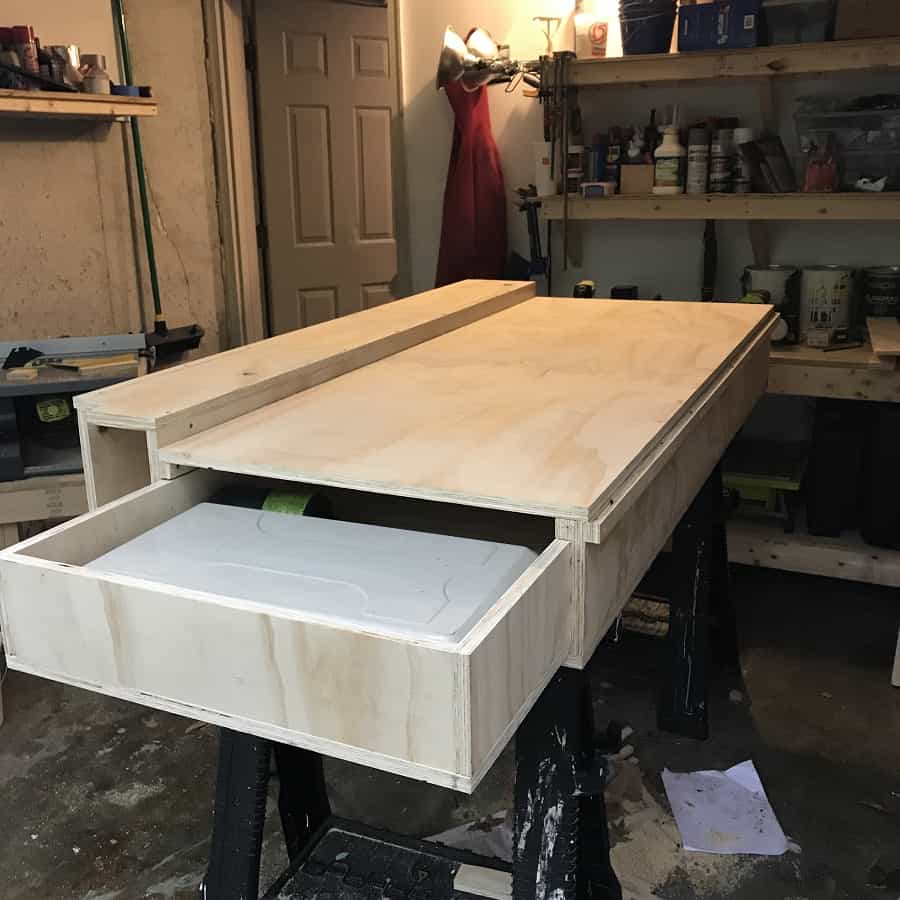
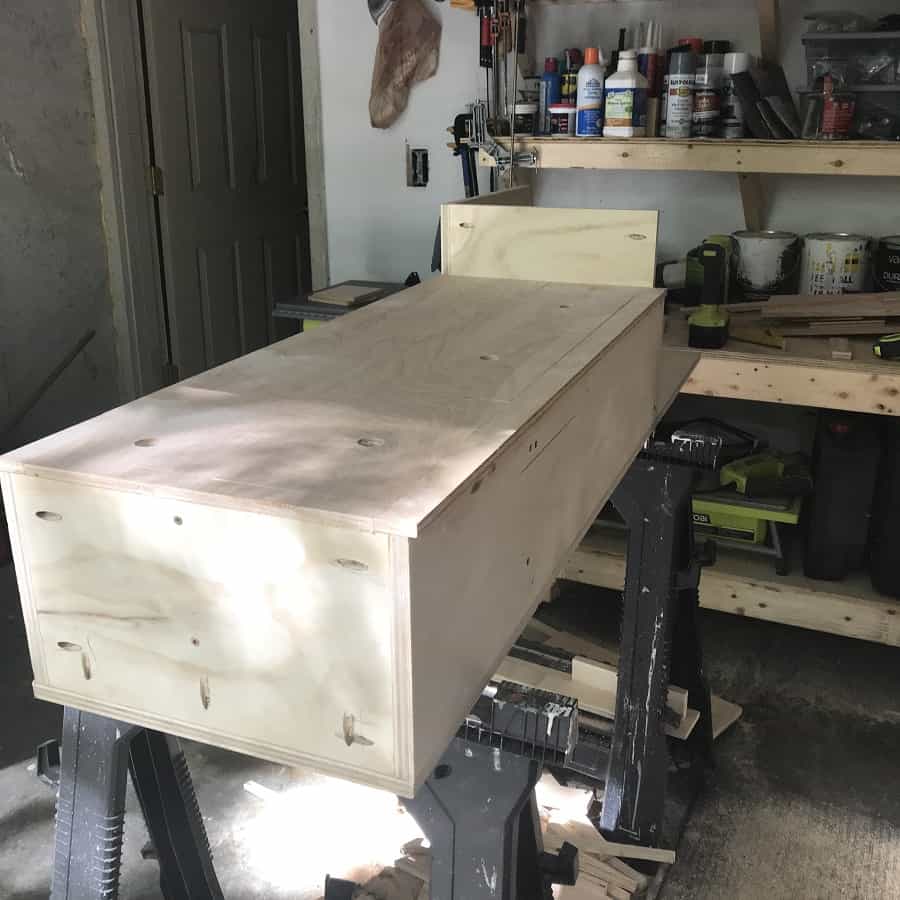
For the camper bed, I created a floor template and removed excess wood to lighten the load. See the first image in the gallery. Once this was complete I set out to create the bed frame using 3/4-inch plywood. I purchased 3 full sheets of plywood at the best grade that I could afford for this project. I realized that the better grade looks better and more finished while being easy to work with.
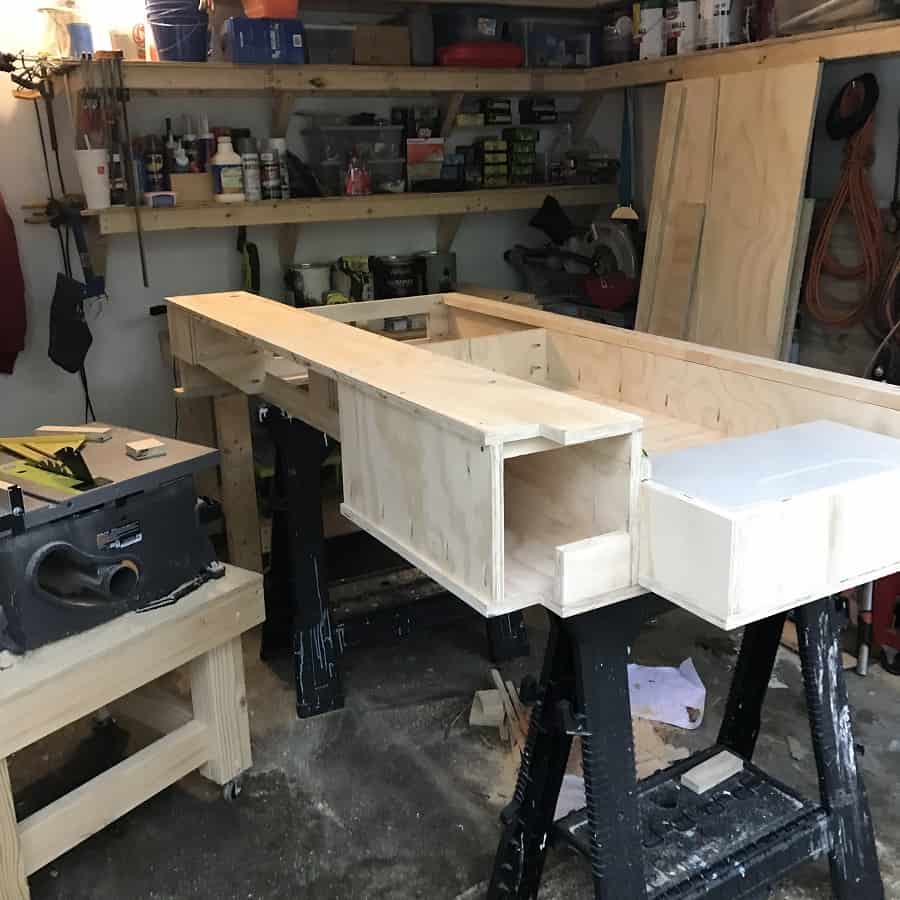
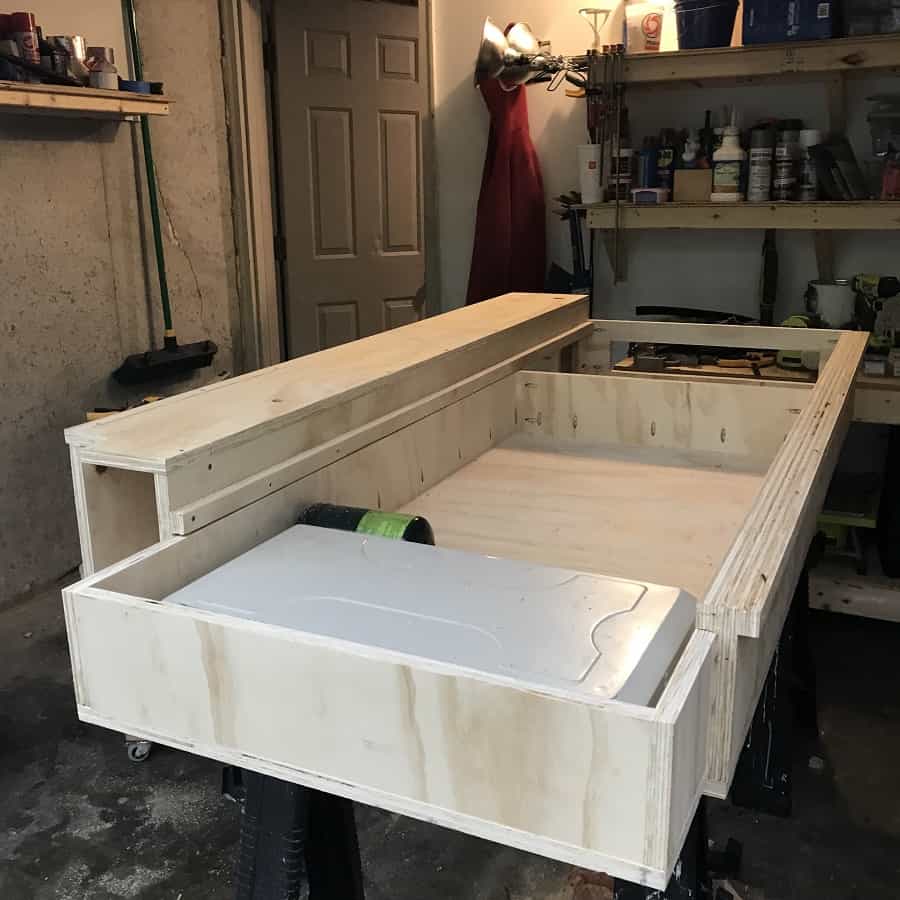
After completing the bed frame I made a ‘sliding drawer’ to fit snugly into the frame. This took some time but I was able to make it without too much difficulty. It slides fairly easily and will get easier after applying some wood wax and after many uses. I just didn’t want it to fit loosely at the beginning knowing that over time the fit will loosen up.
The drawer will house my stove, all my cooking utensils, and dry foods for the trip. Because the drawer is only fills about 3/4 of the length of the bed, I left an opening to store my extra 3-season tent…just in case.
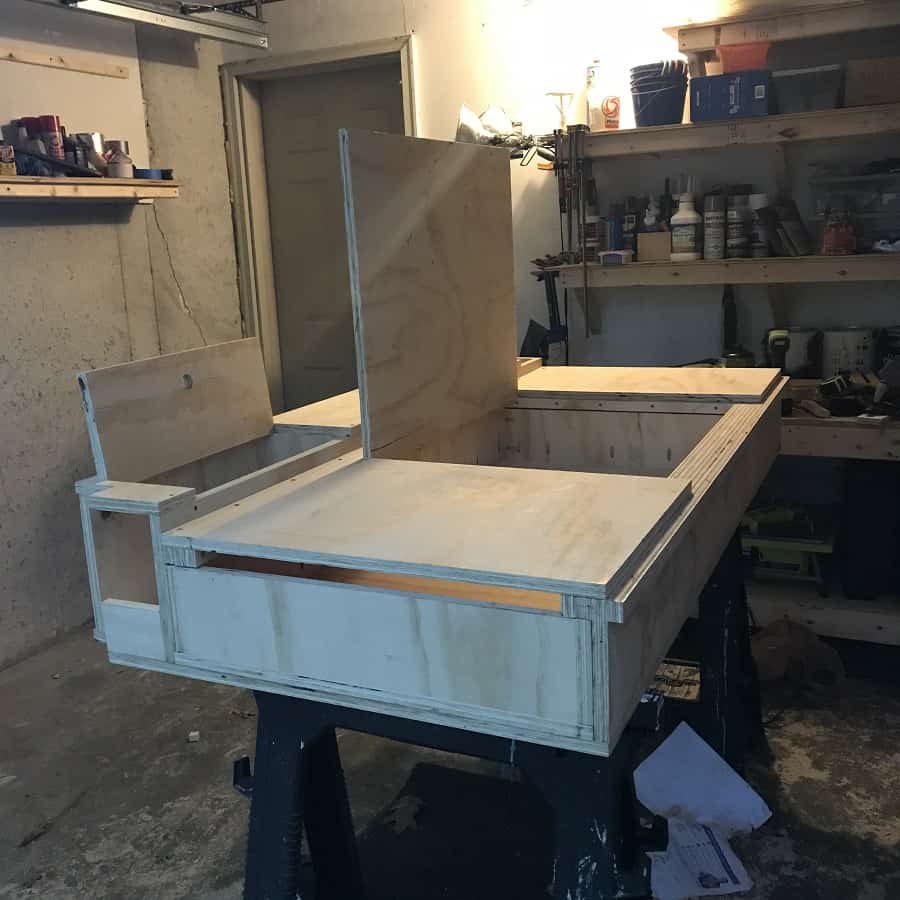
Along the left side, I created two pocket compartments one to place dirty shoes and socks and the back compartment for truly miscellaneous and infrequently used loose items.
On the right side of the camper, I have placed a channel to support a divider piece between the bed and the storage system. This divider piece provides extra width for my bed if I need it.
I enclosed the entire system with top-facing doors. Therefore, I am able to access the drawer from inside and outside of the truck. Easy access from inside and outside of the truck was something that Levi from Levditti strongly encouraged when creating your camper setup.

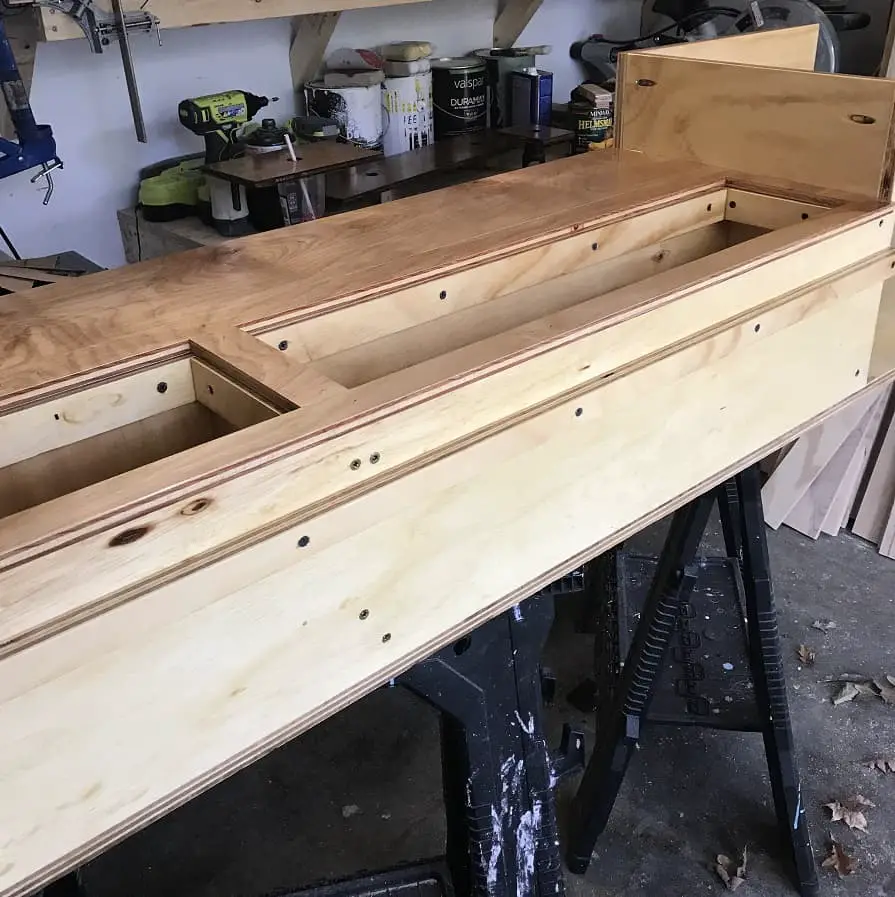
The Storage System Setup
For the storage setup, I decided to keep the overall height of the storage lower so that I didn’t lose visibility out of my windows and to have a place to put my backpack after hiking. By doing this the compartments were lower but still provided ample space to store my clothes, electrical cords, all my other camping items.
The area toward the front I kept open to store my cooler. Currently, my cooler is larger than I really want but it was free from a friend. So, I will keep it for a while. I will hook a bungee cord around the cooler to keep it in place when traveling.


Constructing the System
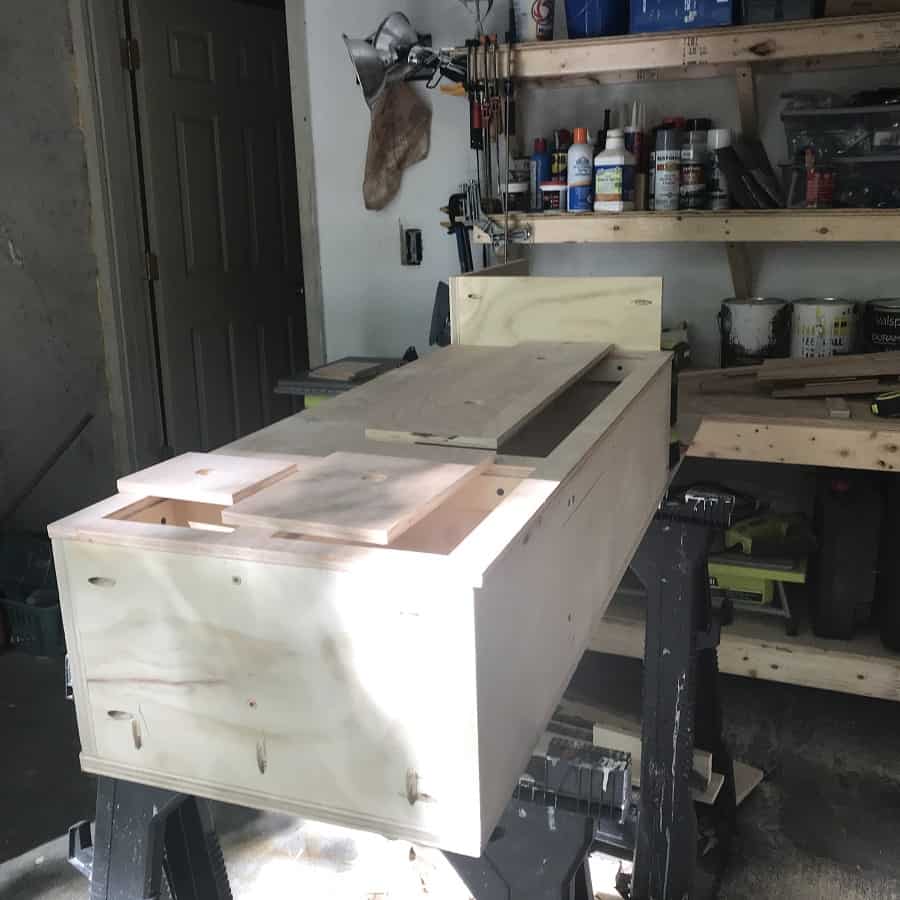
I don’t consider myself a DIY professional by any means but I was able to make the entire system with some basic tools and a professional Kreg Jig. I used the Kreg 720 Pro Jig. This jig was the bomb. I easily created pocket holes and assembled the entire project much more quickly and professionally than just screwing it together. I would highly recommend using this jig system as it saved me so much time.
For the pocket holes, I tried to keep them out of sight but there were a couple that I had to have exposed on the backside of the tall section. Overall, this system worked the best.
The entire unit was put together with screws but without wood glue. I decided to not use wood glue in case I wanted to modify it in the future.
Preventing Mold in My Truck Camper
I live in the Northeast and we get lots of rain and humid days. That’s why I decided to prevent mold by using polyurethane on the entire project. I cover that in my next post. If you know you will be using polyurethane, I used Minwax Helmsman Semi-Gloss Spar Urethane. I used 4 quarts on my entire project.
For tight spots, I used the spray version. The liquid worked really well and required 3 coats. However, the spray version wasn’t as thick. It did the job but if you don’t have tight spots where you can’t use a brush then I would stick with the liquid urethane.
Thoughts on the Construction Process
I found it really satisfying to create my own camper setup. I love the design from Levditti on Youtube and will continue to modify it to fit my needs. Check out the next post to see the finished setup and let’s get out camping and overlanding.
