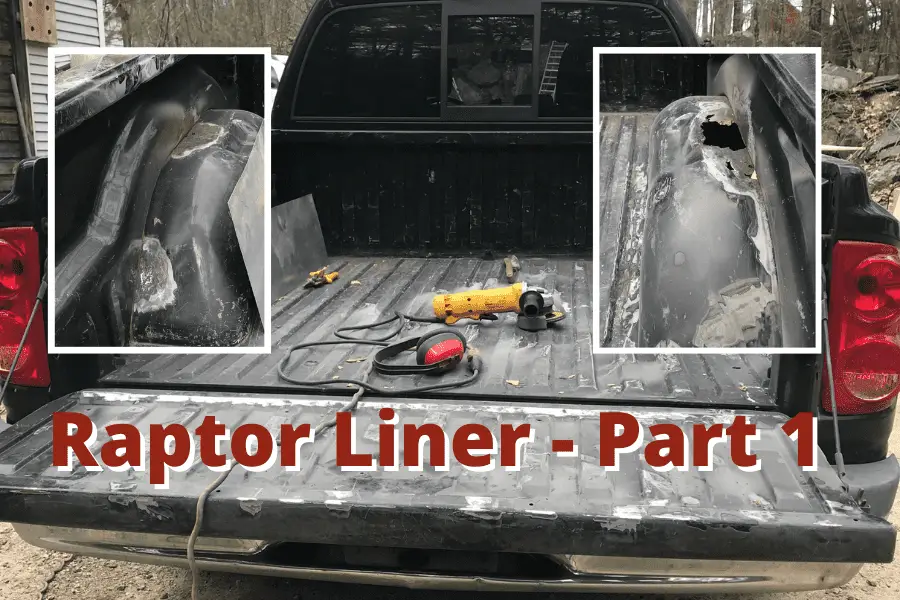
In order to get me out and off the beaten path I need to create a safe, home-away-from-home situation with my vehicle, a 2006 Dodge Dakota. The first project, after a few mechanical repairs, is to fix the truck bed and spray with U-Pol’s Raptor Liner.
Raptor Liner will provide a waterproof covering that allows me to build a kitchen/storage unit with a platform for my bed in the back of the truck. Once this is completed I will get a truck cap and be ready for the road.
Why Change to Raptor Liner
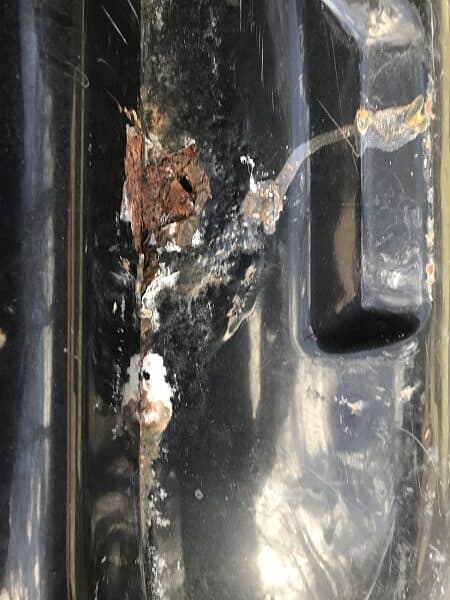
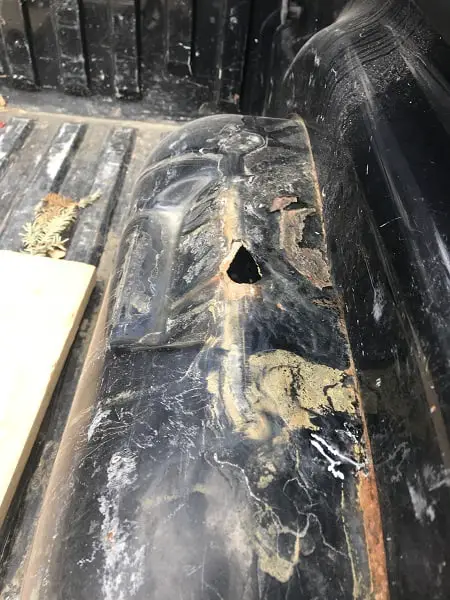
Removing the plastic bed liner from the truck revealed some minor damage to the bed. The wheel wells had started to rust and instead of repairing them, the previous owner decided to just cover them with a plastic bed liner.
So, the damage began from the underside of the wheel well and rusted out the well to the point that there were holes entirely through. So, I decided that Raptor Liner would do the trick. By completely removing the rust and getting to bare metal, I could start the process of “healing” my truck bed.
Benefits of a Raptor Liner
After reading many reviews and watching a fair number of DIY spray-in bed liner videos I decided that Raptor Liner would do the job quite well. And according to the Raptor website, Raptor Liner “provides surfaces with a protective barrier that can withstand the toughest situations.”
The other benefits espoused by the Raptor company include:
- UV resistant so that it won’t fade or “chalk” after years of use
- Water-resistant so it won’t rust, even in “salty water” climates
- Scratch and stain-resistant
- Flexible so it won’t crack with all the movement that a truck bed goes through
Basically, it will do the job. And because I have an older vehicle, I didn’t want to have to pay hundreds more to have someone else do it for me as I only intend to use this truck for the next 2 to 3 years.
To check out the U-Pol Raptor Liner Kit that I’ll use click on this Amazon Link.
Removing the Current Bedliner
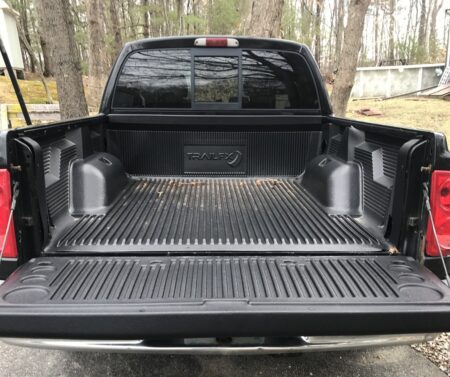
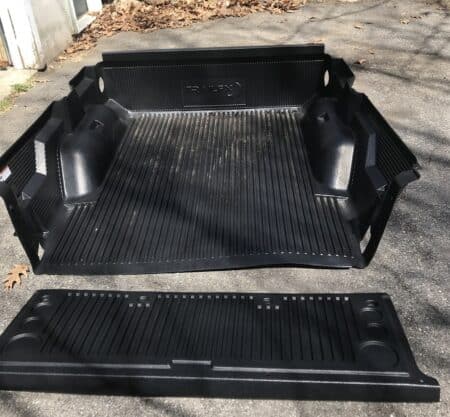
My first step was to remove the current bed liner. And like many overthinkers, I did what I do best…I overthought it. For about a week as I drove back and forth to work, I wondered how am I going to remove this plastic bed liner? Hmmm?
When I mentioned it to a friend he said, “don’t you just lift it up from the middle in the back and the sides will drop down, then just pull it out of the truck bed?” My aha moment! Simple…that is how little I know about truck beds.
I went home, put down the tailgate, reached forward, and lifted the back of the liner, and Wala! It was out in less than a minute.
Prepping the Truck Bed
Once the plastic bed liner was off, I had to inspect the damage. Here is what it looked like before I took to the grinder. These are looking down at each wheel well before grinding…
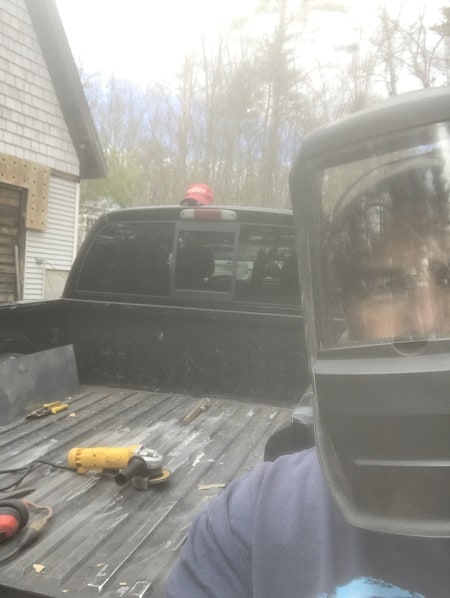
And here is looking at the same spots after grinding, with a bonus pic of me in my Darth Vader mask!
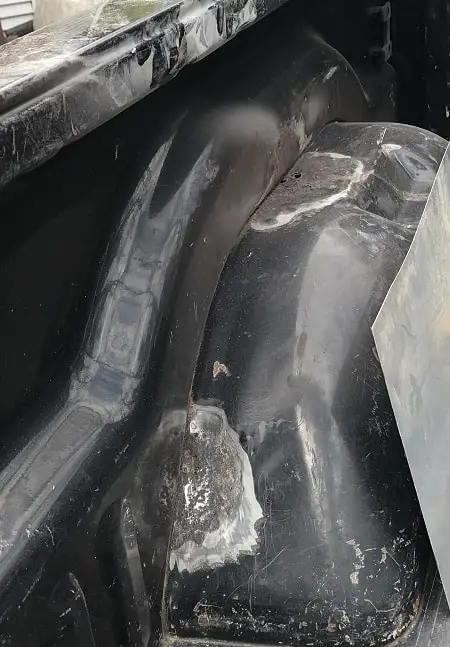
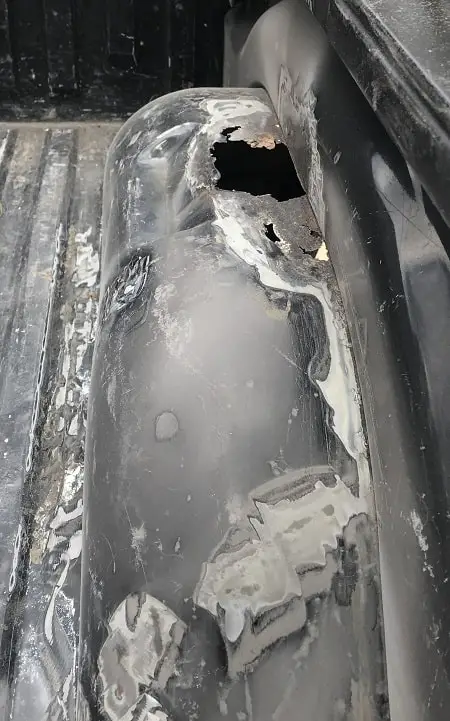
I know what you are thinking, he needs to grind those holes to expose all the metal. Yes, I got it down to metal edges and will treat it with rust reformer paint.
The reason that I am not going the extra to get this looking perfect is that this will be covered by my storage/ bed system, so it just needs to be water-proof not aesthetically pleasing. I will weld some sheet metal and seal the seams. Oh, and by the way, I had Covid in this picture…just didn’t know it yet!
Final Thoughts So Far
There was more rust than I expected after I removed the plastic bed liner. But it was a good thing that I removed it as it gives me a chance to fix the bed rot and prevent the worsening effects of living in New Hampshire.
Also, every step is going to take more than just a few ‘minutes’ in my head. But it is a learning process and best to take it in stride.
I have about three and a half months before the inaugural road trip so am off to a decent start….unfortunately, my build is stalled for a week or so because of my new virus.
Will be back at it in no time. My next steps include repairing the truck bed with my friend Vince (he’s a skilled welder) and then prepping for Spray Day!
